Master Widget Implementation
Once you have generated an intent token using the Create Intent API, you can initialise and render the Master Widget on your website.
Implementation Steps
Step 1: Initialise the Widget
- Copy the following code:
var widget = new cba.Checkout("#widget", "{{intent_token}}"); - Paste the previously created intent token to the
{{intent_token}}space - Insert the code with the intent token value into the website's code to render the Master Widget
Note:If you are adding any coupon codes or performing any actions that will change the total amount at checkout, you must regenerate the
/intentcall and subsequently reinitialise the master widget.
Complete HTML Example
Note: Please consult with PayDock about the expected SDK version to be used. This will vary depending on the time when integrating with the feature.
<!DOCTYPE html>
<html lang="en">
<head>
 <meta charset="UTF-8">
 <title>Title</title>
 <style>

 </style>
</head>
<body>
<h1>Widget</h1>

<div id="widget"></div>

<script src="https://widget.preproduction.powerboard.commbank.com.au/sdk/latest/widget.umd.js"></script>


<script>
  var widget = new cba.Checkout('#widget', "{{intent_token}}");

widget.onPaymentSuccessful(function (data) {
            console.log("success: ", data)
        });

widget.onPaymentFailure(function (error) {
            console.log("failure: ", error)
        });

widget.onPaymentExpired(function (data) {
            console.log("expired: ", data)
        })

</script>
</body>
</html>
Integration Flow
The high-level flow is as follows:
- Perform 'create intent' API call: This generates a unique intent_token
- Use the intent_token: Initialise the new
cba.Checkoutwidget (Master Widget) with the generated token
Important Considerations
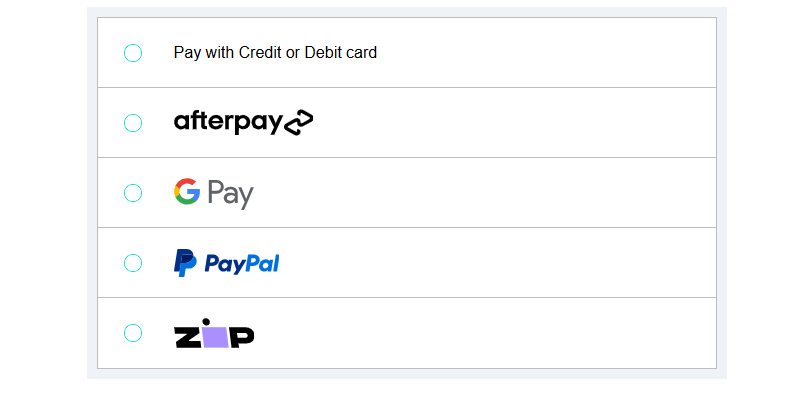
- The Master Widget includes its own messaging components and wraps all existing PowerBoard widgets as required to surface the configured payment methods
- The widget will render the payment methods specified in your configuration template
- Styling will be applied based on your customisation template (if provided)