
Setup Checkout templates
Learn how to setup your checkout configuration and customisation templates
Before you begin:
When utilising the Checkout feature you will be required to create and use an Access Token.
Access Tokens are generated via PowerBoard’s Merchant Dashboard, in a few easy steps:
- Login to the PowerBoard Merchant Dashboard.
- Click on the ‘Access Tokens’ link in the navigation dropdown.
- On screen, select the 'Create New' button.
- Select the following permissions
- checkouts:create-intent
- checkouts:search
- checkouts:get
- checkouts:get-versions
- checkouts-templates:get
- checkouts-templates:search
- checkouts-templates:create
- checkouts-templates:update
- checkouts-templates:get-schemas
- Click Save
- Copy your Access Token and store it somewhere secure as once it has been generated it can no longer be accessed.
How to Setup Checkout
You will need
Before beginning setup, ensure you grab your Gateway IDs for the relevant payment types as you will need these to complete setup.
-
Log into the PowerBoard Merchant Dashboard
-
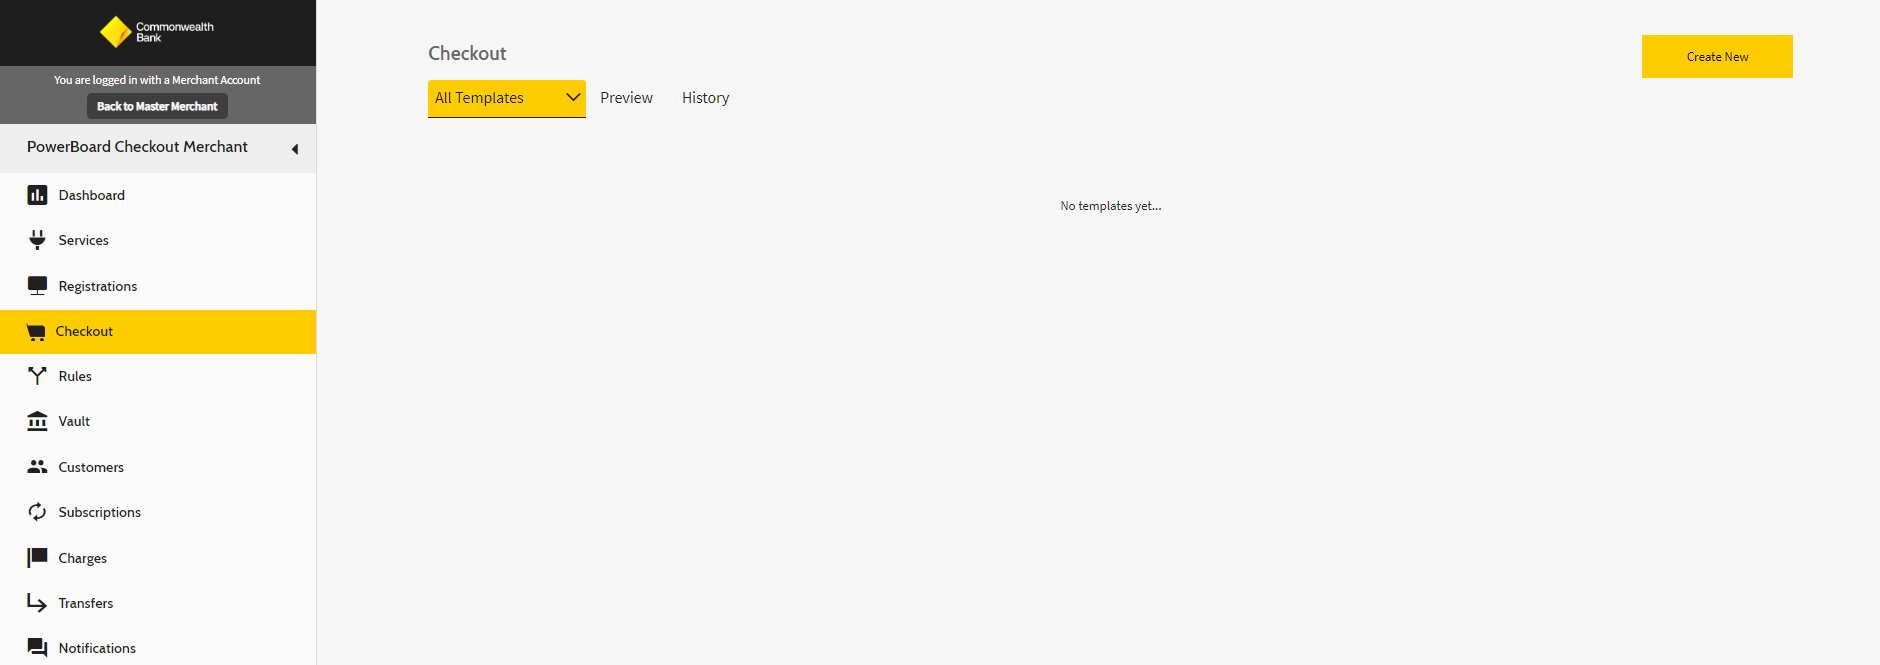
Navigate to 'Checkout' in the navigation section
-
Select ' Create New'
-
From the 'Select Template Options' you will get the choice of
- Customisation - (Template designed specifically for customising the look and feel of your checkout experience)
- Configuration - (Templated designed specifically for selecting what workflows/payment services will be included in your checkout experience)
- Configuration & Customisation - (Allows you to create the 2 above templates simultaneously)
Select the template that you wish, for a first-time setup, we recommend using the Configuration & Customisation option.
-
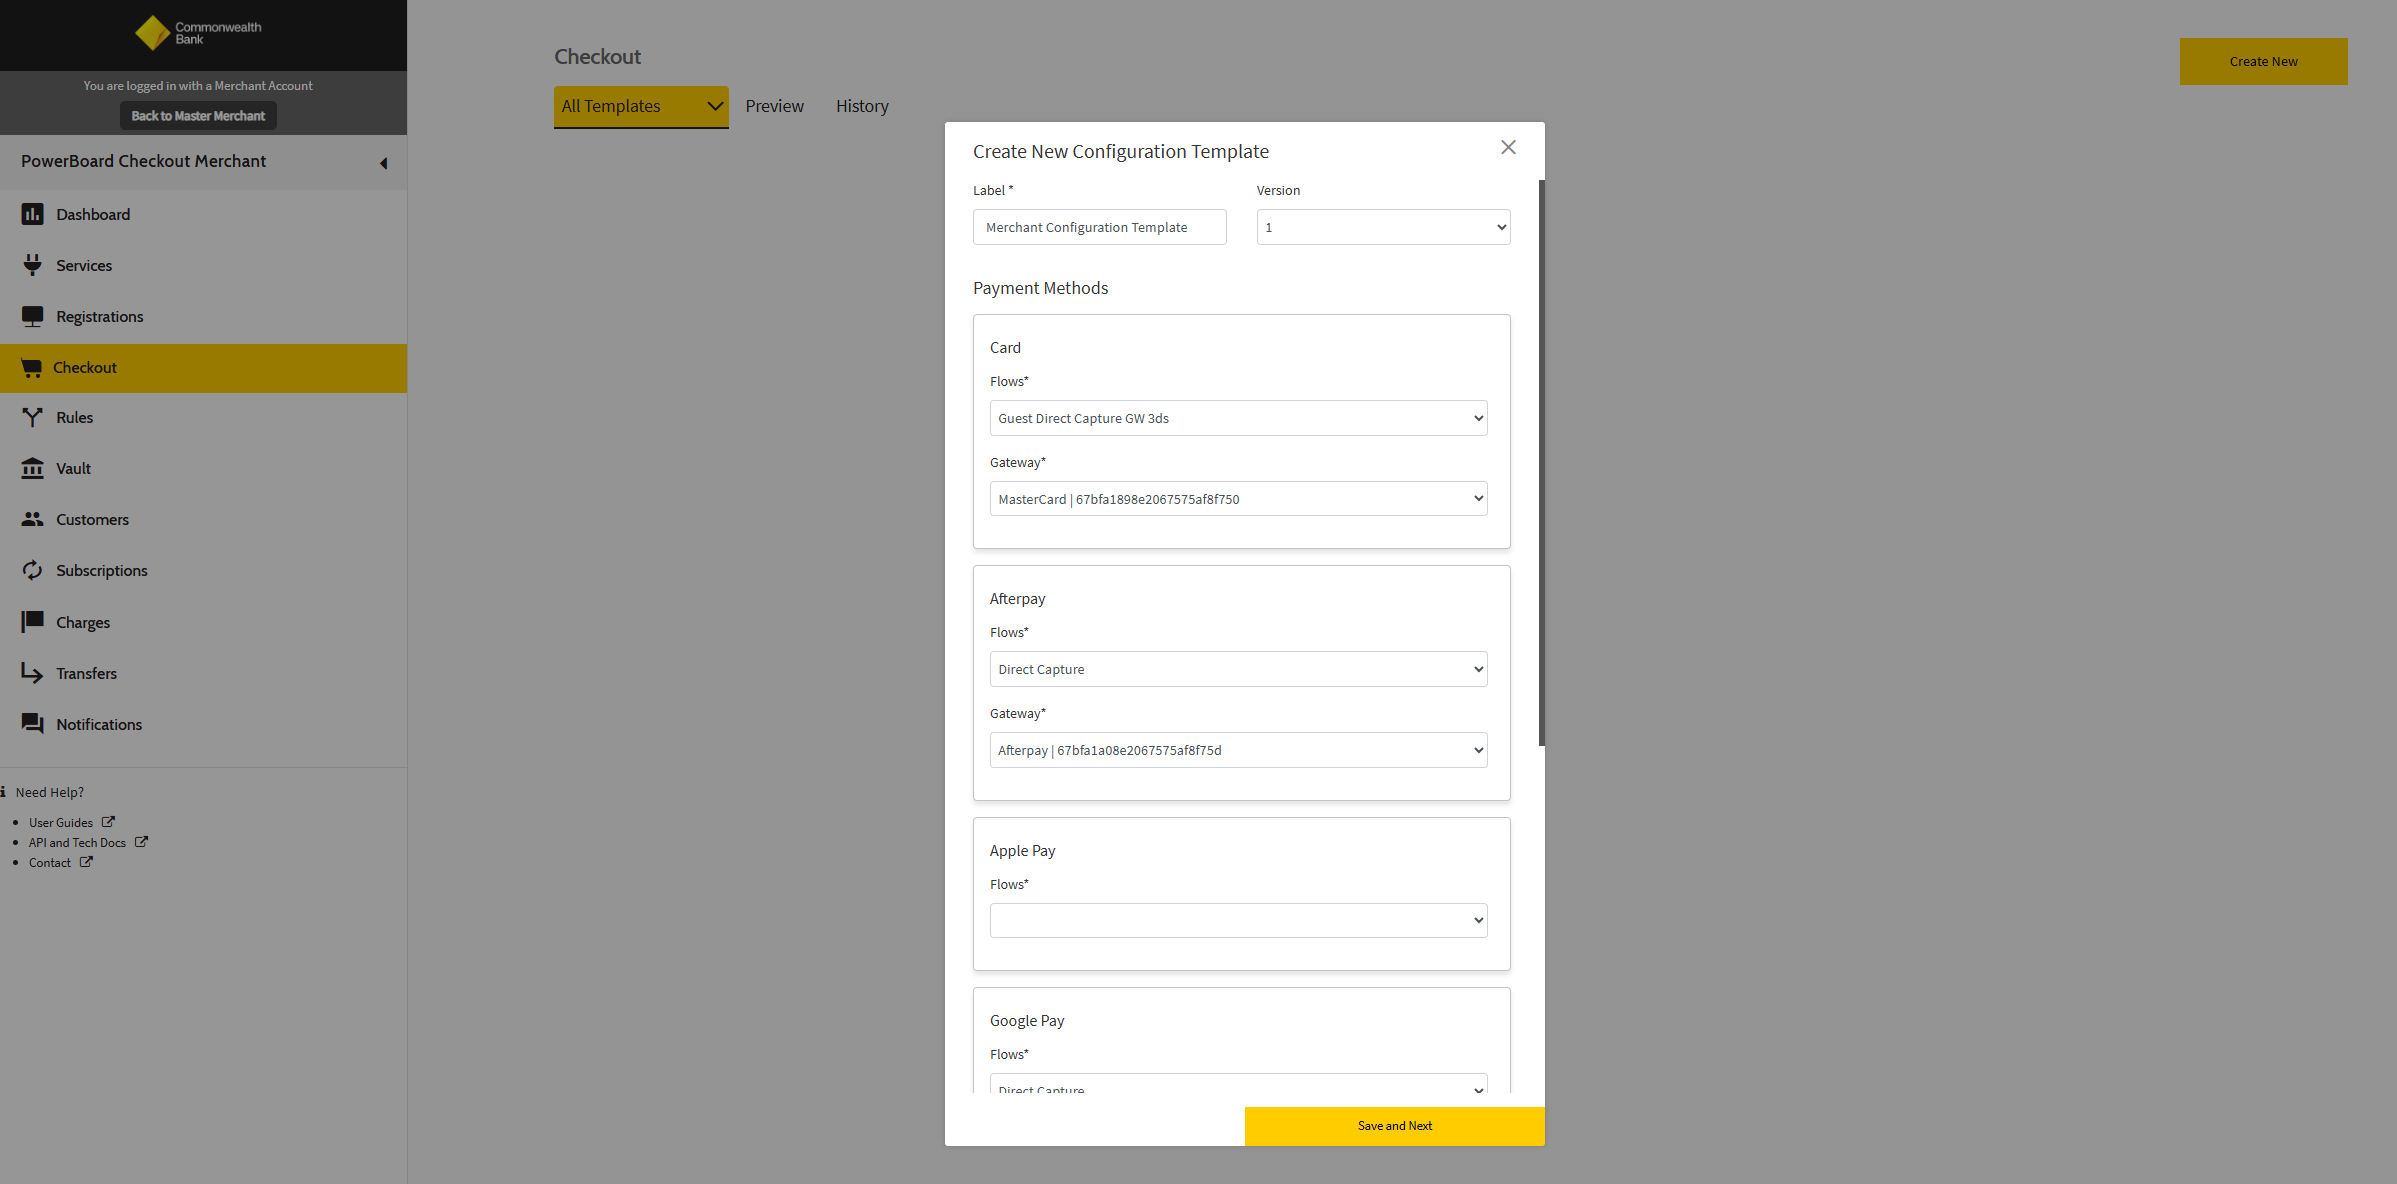
On the next step, you will get the option to label your templates, we recommend that you keep these unique and call out if the template is for configuration or customisation. On configuration you will also get the option to select which version of the configuration template you want to create.
-
After selecting your API version this will bring up a list of services, for the service you wish to enable select a transaction flow associated with the service you wish to enable and select the Service ID from the available dropdown. You can see a list of all your services in the 'Services' screen
-
Once you have selected your workflows and Service ID's associated with each service, click 'Save and Next' (You will also have the ability to update an existing configuration template once it has been created)
-
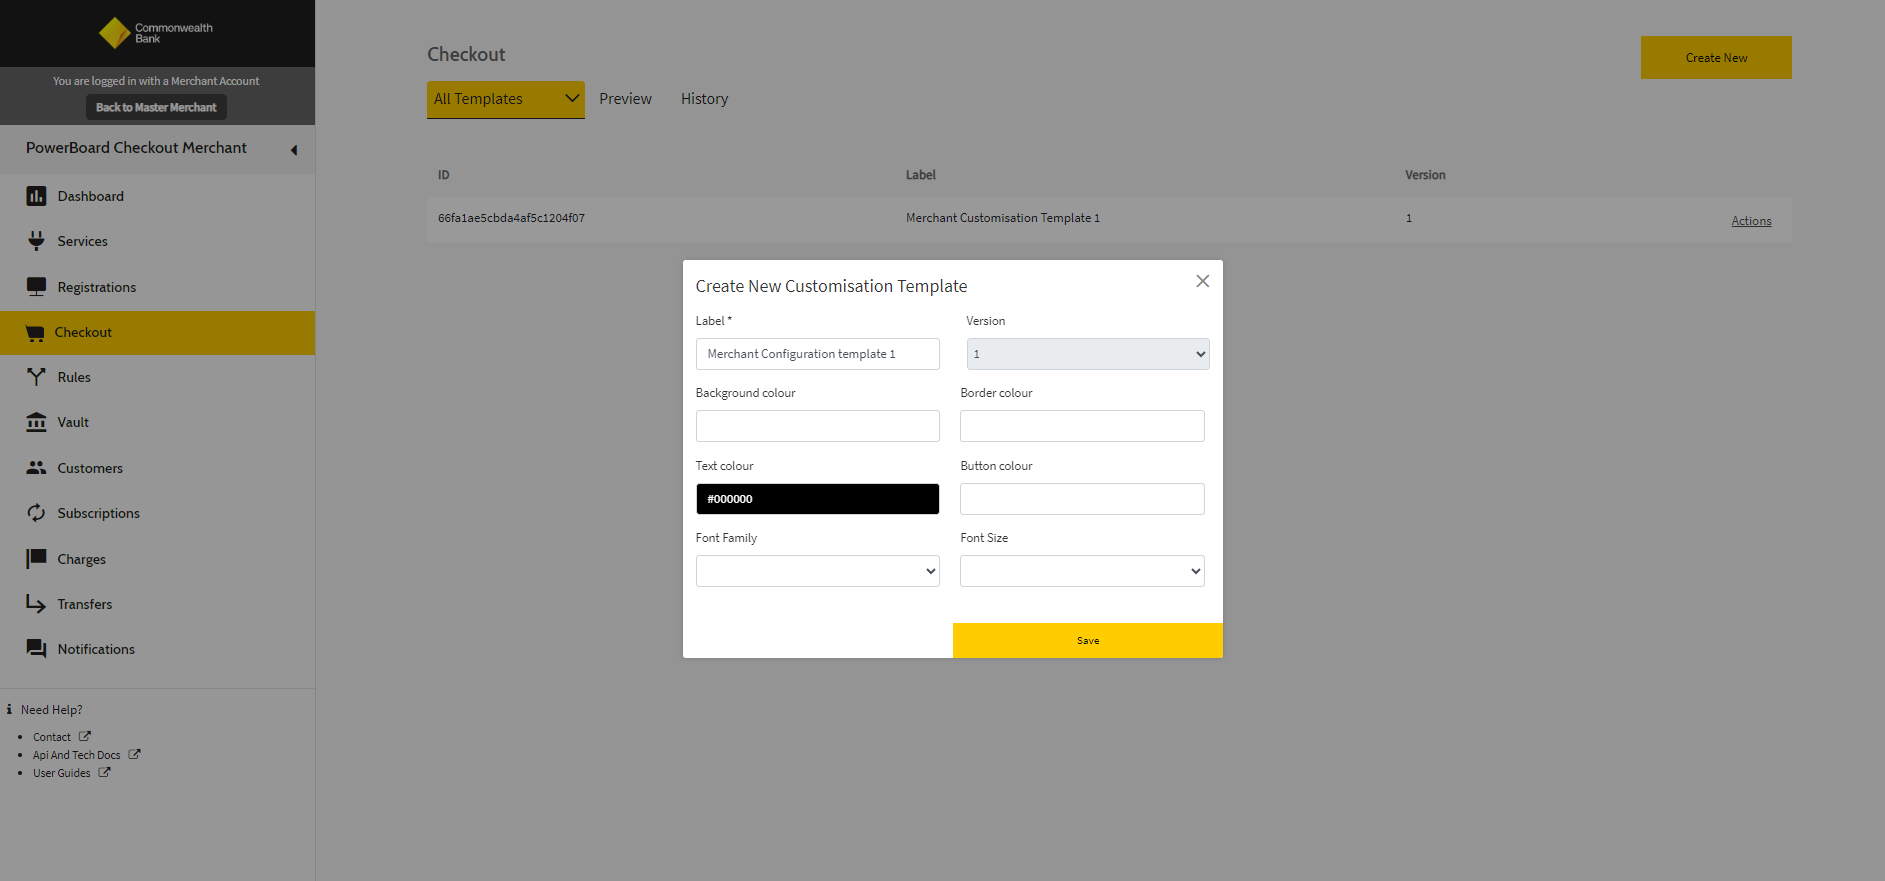
You will need to label your customisation template, similar to Step 5, we recommend you keep the label for your configuration template unique and identify that it is a Configuration Template.
-
You will have the ability to customise the look and feel of your Checkout Widget via the following fields:
- Background Colour
- Border Colour
- Text Colour
- Button Colour
- Font Family
- Font Size
-
Apply and customization settings and click 'Save' (You will also have the ability to update an existing customisation template once it has been created)
-
You will now see the templates you just created appear in your Templates list with an associated ID which can be used in your integration.
-
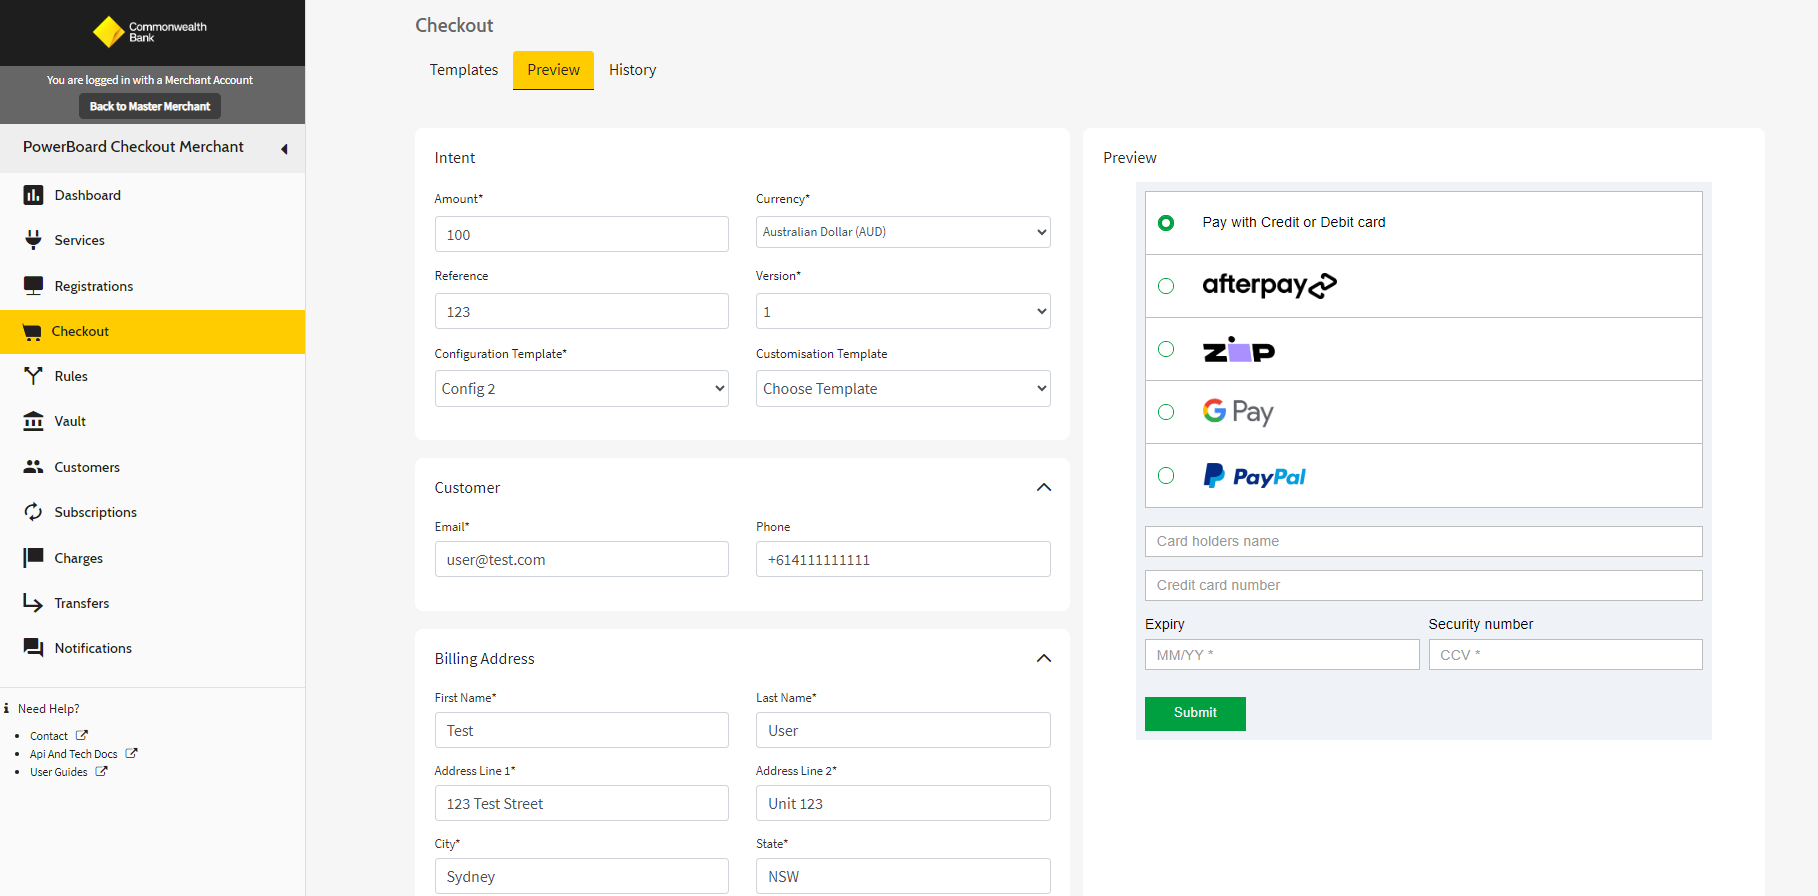
If you wish to preview the templates that you have created, you can select the 'Preview' option on the Checkout page which will give you the ability to add some configuration data to render the widget within the Merchant Dashboard. (Note: Preview option is only currently available in the PreProduction environment)
-
Enter information into the provided fields and select the Configuration and Customisation templates you have just created. Once the information has been entered, hit 'Create' and this will render the widget into the 'Preview' column.
Note
In the PreProduction environment the preview tab will allow you to run test transactions using your created templates you have created. For testing Card Payments, you can use our PowerBoard Test Cards
Updated 3 months ago