
PayPal Smart Payment Buttons
This document will guide you on how to correctly integrate PayPal Smart Payment Buttons and Pay in 4 via PowerBoard.
This document will guide you on how to correctly integrate PayPal Smart Payment Buttons and Pay in 4 via PowerBoard
This document will guide you on how to correctly integrate PayPal Smart Payment Buttons and Pay in 4 via PowerBoard.

Merchants will need to obtain the following data from PayPal:
Merchants will need to setup the following data on PowerBoard:
Select 'Services' on the left navigation pane.
Click on the 'Add New' tab.
Go to the 'Service Group' drop down list and select 'Gateway Services'.
Click on 'Activate' next to PayPal.
Complete all the required fields:
NoteThe "Enable Customer Information Overwrite" checkbox is used to indicate consent to replace the consumer information with the payer information from the PayPal wallet at the charge level.
Include PowerBoard's Hosted JavaScript library in your page and create a container for the PowerBoard widget:
<div id="widget-paypal">
  <script src="https://widget.preproduction.powerboard.commbank.com.au/sdk/latest/widget.umd.js"></script>
  <script>
    let button = new cba.WalletButtons("#widget-paypal", "YOUR_WALLET_TOKEN", {
      amount_label: "Payment Amount",
      country: "AU",
      request_shipping: false,
      pay_later: true, // change 'pay_later' to false to display only PayPal button
      standalone: false, // change 'standalone' to true to display only one button
      hide_message: false, // change 'hide_message' to true to hide PayIn4 messaging
      style: {
        layout: 'horizontal',
        color: 'gold',
        shape: 'rect',
        label: 'paypal',
      },
    });
    button.setEnv('preproduction_cba');
    button.onUnavailable(() => console.log("No wallet buttons available"));
    button.onPaymentSuccessful((data) console.log("Payment Successful"));
    button.onPaymentError((data) => console.log("The payment was not successful"));
    button.onPaymentInReview((data) => console.log("The payment is on fraud review"));
    button.load();
    }
</script>| Parameter | Type | Description |
|---|---|---|
| pay_later | boolean | Used to enable Pay Later feature in PayPal Smart Checkout WalletButton integration when available. Optional. |
| hide_message | boolean | Used to hide Pay Later messages in PayPal Smart Checkout WalletButton integration. Optional. |
| standalone | boolean | Used to enable Standalone Buttons feature in PayPal Smart Checkout WalletButton integration. Used together with pay_later. Optional. |
| request_shipping | boolean | Used to request or not shipping address in the Wallet checkout, being able to handle amount changes via the update event. Optional. |
| style.layout | 'vertical' | 'horizontal' | Used for indicating the PayPal Button layout. |
| style.color | 'blue' | 'gold' | 'silver' | 'black' | 'white' | Used for indicating the main color of the PayPal Button. |
| style.shape | 'rect' | 'pill' | Used for indicating the shape of the PayPal Button. |
| style.label | 'paypal' | 'checkout' | 'buynow' | 'pay' | Used for indicating the label of the PayPal Button. |
There are numerous event handlers and methods available as part of the widget to manage your workflows:
This function will be executed once the customer successfully completes the payment.
button.onPaymentSuccessful(function(data) {
    console.log("Payment successful");
    console.log(data);
});This function will be executed when a payment error occurs.
button.onPaymentError(function(err) {
    console.log("Payment error");
    console.log(err);
});This function will be executed when the payment is under fraud review.
button.onPaymentInReview(function(data) {
    console.log("The payment is on fraud review");
    console.log(data);
});This function will be executed when no wallet buttons are available.
button.onUnavailable(function() {
    window.alert("No wallet buttons available");
});This function will be executed when the charge amount needs to be updated (e.g., shipping changes).
button.onUpdate((data) => {
    console.log("Updating amount via a backend to backend call to POST charges/:id");
    button.update({ success: true });
});This function will be executed when the PayPal button is clicked, allowing for validation before proceeding.
// ASYNC MODE
const serverValidations = async () => {
    // Perform server-side validations
}

button.onClick(({ data: { attachResult } }) => {
    attachResult(serverValidations());
});This method needs to be called to select the environment to be targeted.
button.setEnv('preproduction_cba'); // or 'production_cba'This method needs to be called to load the widget into the customer's browser.
button.load();The following APIs are used for PayPal service:
POST https://api.preproduction.powerboard.commbank.com.au/v1/charges/wallet]POST https://api.preproduction.powerboard.commbank.com.au/v1/charges/:chargeId/refunds]Initialise wallet charge using the [POST /v1/charges/wallet] endpoint:
| API Endpoint | https://api.preproduction.powerboard.commbank.com.au/v1/charges/wallet |
|---|---|
| HTTP Method | POST |
| Headers | x-user-secret-key - POWERBOARD_SECRET_KEY - This is your PowerBoard API Secret Key. Content-Type - application/json |
| Request Parameters | amount - number - Total amount for the transaction. currency - string - Currency code (e.g., 'AUD'). customer.payment_source.gateway_id - string - PayPal Gateway ID. |
Sample Request:
{
    "amount": 50,
    "currency": "AUD",
    "customer": {
        "payment_source": {
            "gateway_id": "647d7c4da1a08f5eec502a5e"
        }
    }
}
{
"status": 201,
"error": null,
"resource": {
"type": "charge",
"data": {
"token": "eyJhbGciOiJIUzI1NiIsInR5cCI6IkpXVCJ9...",
"charge": {
"_id": "650d1fc302467631b0fbac6f",
"amount": 50,
"currency": "AUD",
"company_id": "6459ec32d5a3f85c5c9fa337",
"type": "financial",
"status": "wallet_initialized",
"capture": true,
"authorization": false,
"one_off": true,
"created_at": "2023-09-22T05:01:55.235Z",
"updated_at": "2023-09-22T05:01:55.235Z",
"customer": {
"payment_source": {
"type": "wallet",
"wallet_type": "paypal",
"gateway_id": "647d7c4da1a08f5eec502a5e",
"gateway_name": "PayPal",
"gateway_type": "Paypal"
}
},
"transactions": [],
"shipping": {},
"items": []
}
}
}
} let button = new cba.WalletButtons("#widget-paypal", "YOUR_WALLET_TOKEN", {
amount_label: "Payment Amount",
country: "AU",
request_shipping: false,
pay_later: true, // change 'pay_later' to false to display only PayPal button
standalone: false, // change 'standalone' to true to display only one button
hide_message: false, // change 'hide_message' to true to hide PayIn4 messaging
style: {
layout: 'horizontal',
color: 'gold',
shape: 'rect',
label: 'paypal',
},Execute the PayPal widget in the web browser.
PayPal button(s) will be rendered.

Click on either 'PayPal' or 'Pay in 4' button.
An iframe will be triggered for the customer to complete the payment.
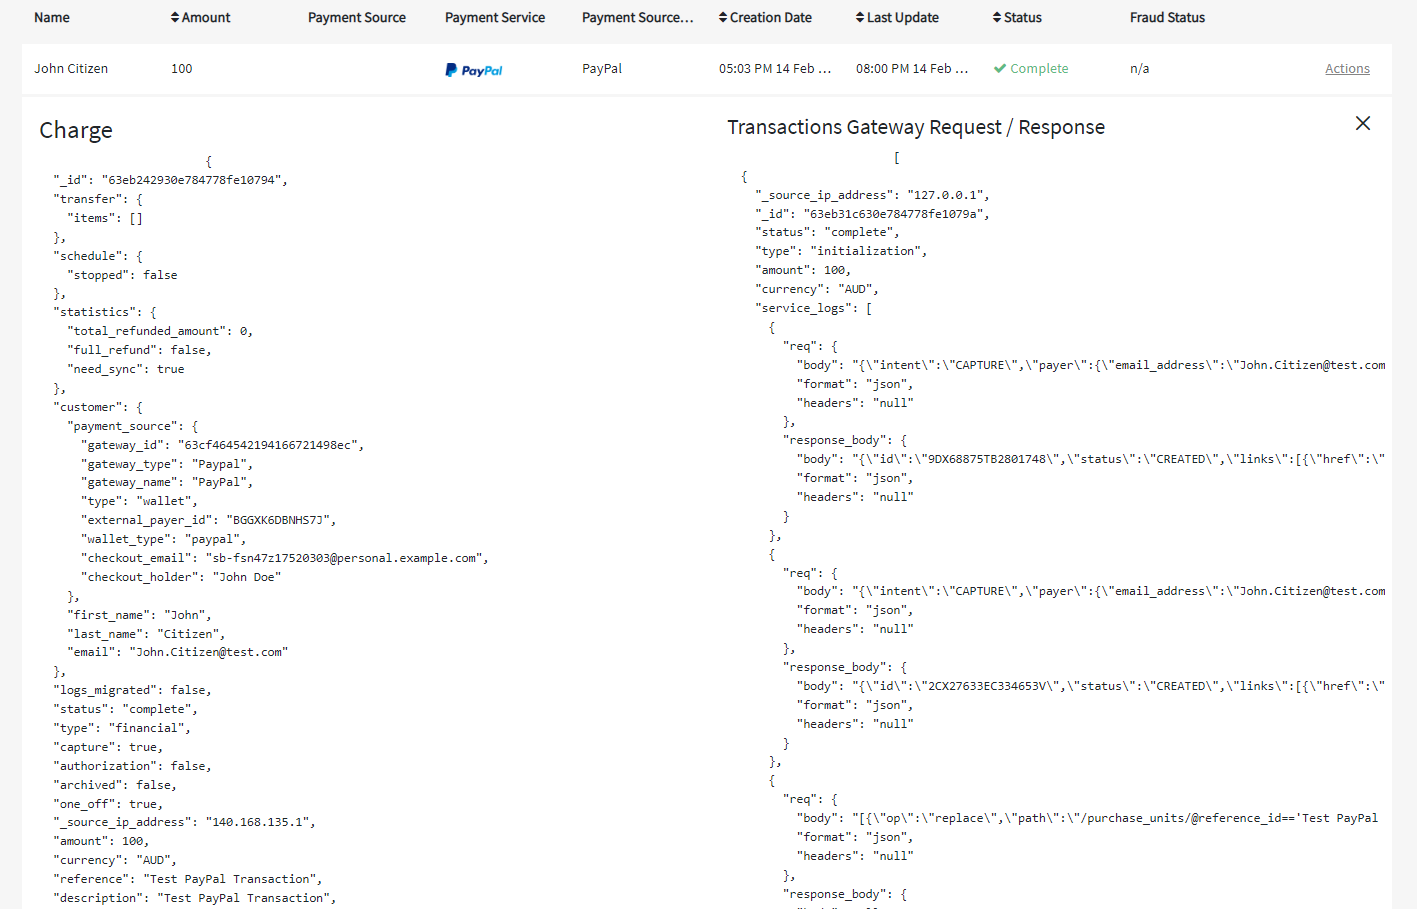
Upon completion, the charge status will be updated to 'Complete' on the PowerBoard dashboard.
Use the [POST /v1/charges/:chargeId/refunds] endpoint:
| API Endpoint | https://api.preproduction.powerboard.commbank.com.au/v1/charges/:chargeId/refunds |
|---|---|
| HTTP Method | POST |
| Headers | x-user-secret-key - POWERBOARD_SECRET_KEY Content-Type - application/json |
| Path Parameters | chargeId - string - The ID of the charge to refund. |
| Request Parameters | amount - number - The amount to refund (must not exceed the original transaction amount). |
Sample Request:
{
    "amount": 80
}
The charge status will be changed from 'Complete' to 'Refunded'.
Alternatively, refunds can be performed from the PowerBoard dashboard by selecting 'Refund Request' from the 'Actions' drop-down list.
There are 3 scenarios for handling shipping addresses based on merchant configuration:
| request_shipping | Enum Value | Description |
|---|---|---|
| request_shipping = true | GET_FROM_FILE | Get the customer-provided shipping address on the PayPal site. |
| request_shipping = false | NO_SHIPPING | Redacts the shipping address from the PayPal site. Recommended for digital goods. |
| request_shipping = false (with shipping object) | SET_PROVIDED_ADDRESS | The merchant sends the shipping address using purchase_units.shipping.address. The customer cannot change this address on the PayPal site. |
When initialising a wallet charge [POST https://api.preproduction.powerboard.commbank.com.au/v1/charges/wallet], you can use the shipping object and define any of the supported shipping options.
NoteThe
shipping.methodmust be the same as theshipping.options.id, and the shipping amount must also be the same as theshipping.option.amountfor any of the usedshipping.options.
Sample Shipping Object:
"shipping": {
    "amount": 5,
    "method": "SHIP_321",
    "address_line1": "ship1",
    "address_line2": "ship22",
    "address_line3": "ship3",
    "address_city": "shipcity",
    "address_state": "shipstate",
    "address_country": "AU",
    "address_postcode": "123456",
    "contact": {
        "first_name": "ship_contact",
        "last_name": "contact_last_name",
        "phone": "+5555555556"
    },
    "options": [
        {
            "id": "SHIP_321",
            "label": "Standard Shipping",
            "type": "SHIPPING",
            "detail": "SHIP_321 - Standard Shipping",
            "amount": 5.00,
            "currency": "AUD"
        }
    ]
}| Parameter | Type | Description | Required |
|---|---|---|---|
| id | string | Identifier of the Shipping Option. | Yes |
| label | string | Label of the Shipping Option. | Yes |
| amount | number | Amount of the Shipping Option. | Yes |
| currency | string | Currency of the Shipping Option. | Yes |
| type | string | Type of the Shipping Option. Values can be 'SHIPPING' or 'PICKUP'. | Yes |
The hide_message parameter controls the display of "PayLater messaging":
hide_message is set to true, PayLater Learn More message is NOT displayedhide_message is set to false, PayLater Learn More message is displayed
Note: Messaging is different depending on amount
- If amount is less than $30: Messaging says Pay in 4 is only available for purchases between $30 - $1500
- If amount is equal to or greater than $30: Messaging breaks down the amount into 4 equal instalments
Updated 4 months ago