
Integrate the Checkout Widget
Learn how to integrate the checkout master widget into your environment
Integration Steps
Step 1) Create Configuration and Customisation Templates
Refer to the 'How to Setup Checkout' part of this guide to see how this can be done.
Step 2) Generate Intent Token via API
The Intent encapsulates the payment context for the transaction. It is recommended that you collect all fields within the intent token request as this will allow you to use all existing payment methods and future proof you for any additonal payment methods that are added in the future.
Note:
The intent call must also include customer specific information (collected during checkout or from
their customer profile) such as contact and address details.
| API Endpoint | <https://api.preproduction.powerboard.commbank.com.au/v1/checkouts/intent> |
|---|---|
| HTTP Method | POST |
| Headers | x-access-token- POWERBOARD_ACCESS_TOKEN - This is your PowerBoard API Access Token. Content-Type - application/json - Type will always be application/json. |
| Request Parameters | customisation.template_id - string - Your previously created Customisation ID for the Checkout Widget configuration.template_id - string - Your previously created Configuration ID for the Checkout Widget customer.email - string - Customers Email Address customer.phone - string - Phone Number of Customer customer.billing_address.first_name - string - First Name of Customer. customer.billing_address.last_name - string - Last Name of Customer. customer.billing_address.address_line1 - string - Customer Address Line 1 customer.billing_address.address_line2 - string - Customer Address Line 2. customer.billing_address.address_city - string - Customers City. customer.billing_address.address_state - string - Customers State. customer.billing_address.address_country - string - Customers Country customer.billing_address.address_postcode - string - Customers Postcode amount - string - Total amount for the transaction. version - string - The version of Checkout API being used. currency - string. Always set to 'AUD' reference - string. A unique reference for the transaction |
{
    "customisation": {
        "template_id": "YOUR_CUSTOMISATION_TEMPLATE_ID"
    	    },
  	"configuration": {
      	"template_id": "YOUR_CONFIGURATION_TEMPLATE_ID"
            },
    "customer": {
         "email": "[email protected]",
         "phone": "+6141111111",
         "billing_address": {
            "first_name": "Test",
            "last_name": "User",
            "address_line1": "123 Test Street",
            "address_line2": "Unit 123",
            "address_city": "Sydney",
            "address_state": "NSW",
            "address_country": "AU",
            "address_postcode": "2000"
     		 }
        },
    "amount": 120,
  	"version": 1,
  	"currency": "AUD",
  	"reference": "Order 12345678"

}
{
    "status": 201,
    "error": null,
    "resource": {
        "type": "checkout",
        "data": {
            "_id": "67107db89d218493ecc4e082",
            "version": 1,
            "status": "active",
            "reason": null,
            "amount": 120,
            "currency": "AUD",
            "reference": "Order 12345678",
            "journey": [
                {
                    "sense": "info",
                    "title": "Workflow created",
                    "message": "Checkout process created ....",
                    "thread": "main",
                    "context": null,
                    "_id": "67107db89d218493ecc4e085",
                    "created_at": "2024-10-17T03:00:08.850Z",
                    "updatedAt": "2024-10-17T03:00:08.850Z"
                }
            ],
            "created_at": "2024-10-17T03:00:08.759Z",
            "updated_at": "2024-10-17T03:00:08.850Z",
            "token": "YOUR_INTENT_TOKEN"
        }
    }
}
Store the returned intent_token to utilise in the next step.
Note:'customisation.template_ID' and 'reference' fields are optional.
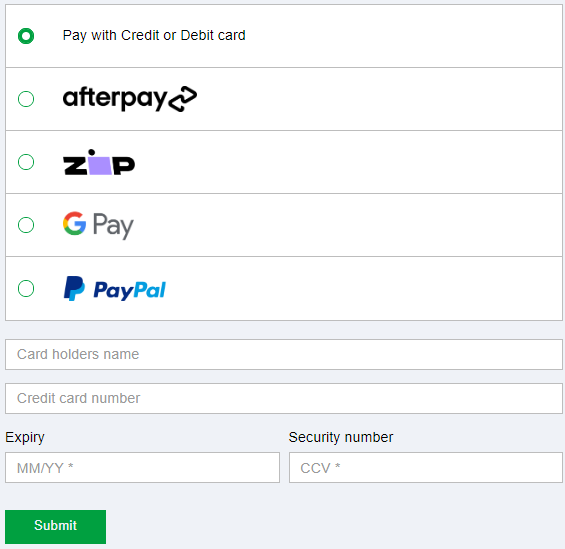
Step 3) Render the Widget using the intent_token
Use the returned intent_token from the previous step and use it to render the Checkout Widget to the end-user.
<div id="widget"></div>
<script
src="https://widget.preproduction.powerboard.commbank.com.au/sdk/latest/widget.umd.js"></script>

<script>
var widget = new cba.Checkout('#widget',"{{intent_token}}");
Step 4) Add event handling
The Master Widget in the checkout process sends specific notifications to merchants about their customers' checkout status. These notifications are crucial for managing the cardholder experience, addressing various checkout outcomes including:
onPaymentSuccessful
This event is triggered when a payment is completed successfully. It allows the merchant to
execute specific actions, such as updating the order status, notifying the customer of the
successful transaction, and/or redirecting the customer to a confirmation page
onPaymentError
This event is triggered when a payment fails. Merchants can use this event to handle payment
errors, such as displaying error messages to customers or logging the error details. When this event is returned, and the transaction has declined we recommend generating a new Intent Token and re-initialising the checkout widget to provide the end user with the ability to re-attempt their transaction.
onPaymentExpired
This event is triggered when a payment workflow session expires. This typically happens if the
customer takes too long to complete the payment (e.g after 15 minutes of inactivity).
Example below:
<!DOCTYPE html>
<html lang="en">
  <head>
    <meta charset="UTF-8">
    <title>Checkout</title>
    <style></style>
  </head>
  <body>
    <h1>Widget</h1>
    <div id="widget"></div>
    <script src="https://widget.preproduction.powerboard.commbank.com.au/sdk/latest/widget.umd.js"></script>
    <script>
      var widget = new cba.Checkout('#widget', "{{intent_token}}");
      widget.onPaymentSuccessful(function(data) {
        console.log("success: ", data)
      });
      widget.onPaymentFailure(function(error) {
        console.log("failure: ", error)
      });
      widget.onPaymentExpired(function(data) {
        console.log("expired: ", data)
      })
    </script>
  </body>
</html>
Updated 3 months ago