
PowerBoard Magento Extension
This document will guide you on how to install PowerBoard extension on your Magento store.
This document will guide you on how to install PowerBoard extension on your Magento store.
Pre-requisites
- PowerBoard Pre-Prod merchant account if testing in pre-prod.
- PowerBoard Prod merchant account for your prod store.
Please reach out to your CBA contact to obtain your merchant account.
The PowerBoard Magento extension is compatible with the following versions:
| Magento | Versions |
|---|---|
| Magento Open Source | 2.4.4 | 2.4.5 | 2.4.6 |
| Magento On Premise | 2.4.4 | 2.4.5 | 2.4.6 |
| Adobe Commerce Cloud | 2.4.4 | 2.4.5 | 2.4.6 |
Note
It’s recommended that you first install the PowerBoard module in a development Magento environment that is an exact copy of your live store. After you have verified everything is working properly on your development environment, you can safely install the module in your live environment.
Backup your Magento store database and files before installing the module.
You can do this via SSH or via the account dashboard of your hosting provider.
Step 1. Run composer command to require the package:
composer require paydock/magento2-powerboard
Step 2. Setup and Deployment
php bin/magento setup:upgrade

| Setting Name | Description |
|---|---|
| Enabled (Yes/No) | Enable or disable PowerBoard from being available both on the frontend (customer facing) and backend (merchant facing). |
| Environment (pre-production or production) | The PowerBoard environment. |
| Public Key | Obtained from PowerBoard Merchant Portal > My Company > API and Security |
| Secret Key | Obtained from PowerBoard Merchant Portal > My Company > API and Security |
| CSS | Additional styling that will be applied to the PowerBoard widgets/payment form in the checkout. Default: {"background_color": "#ffffff"} |
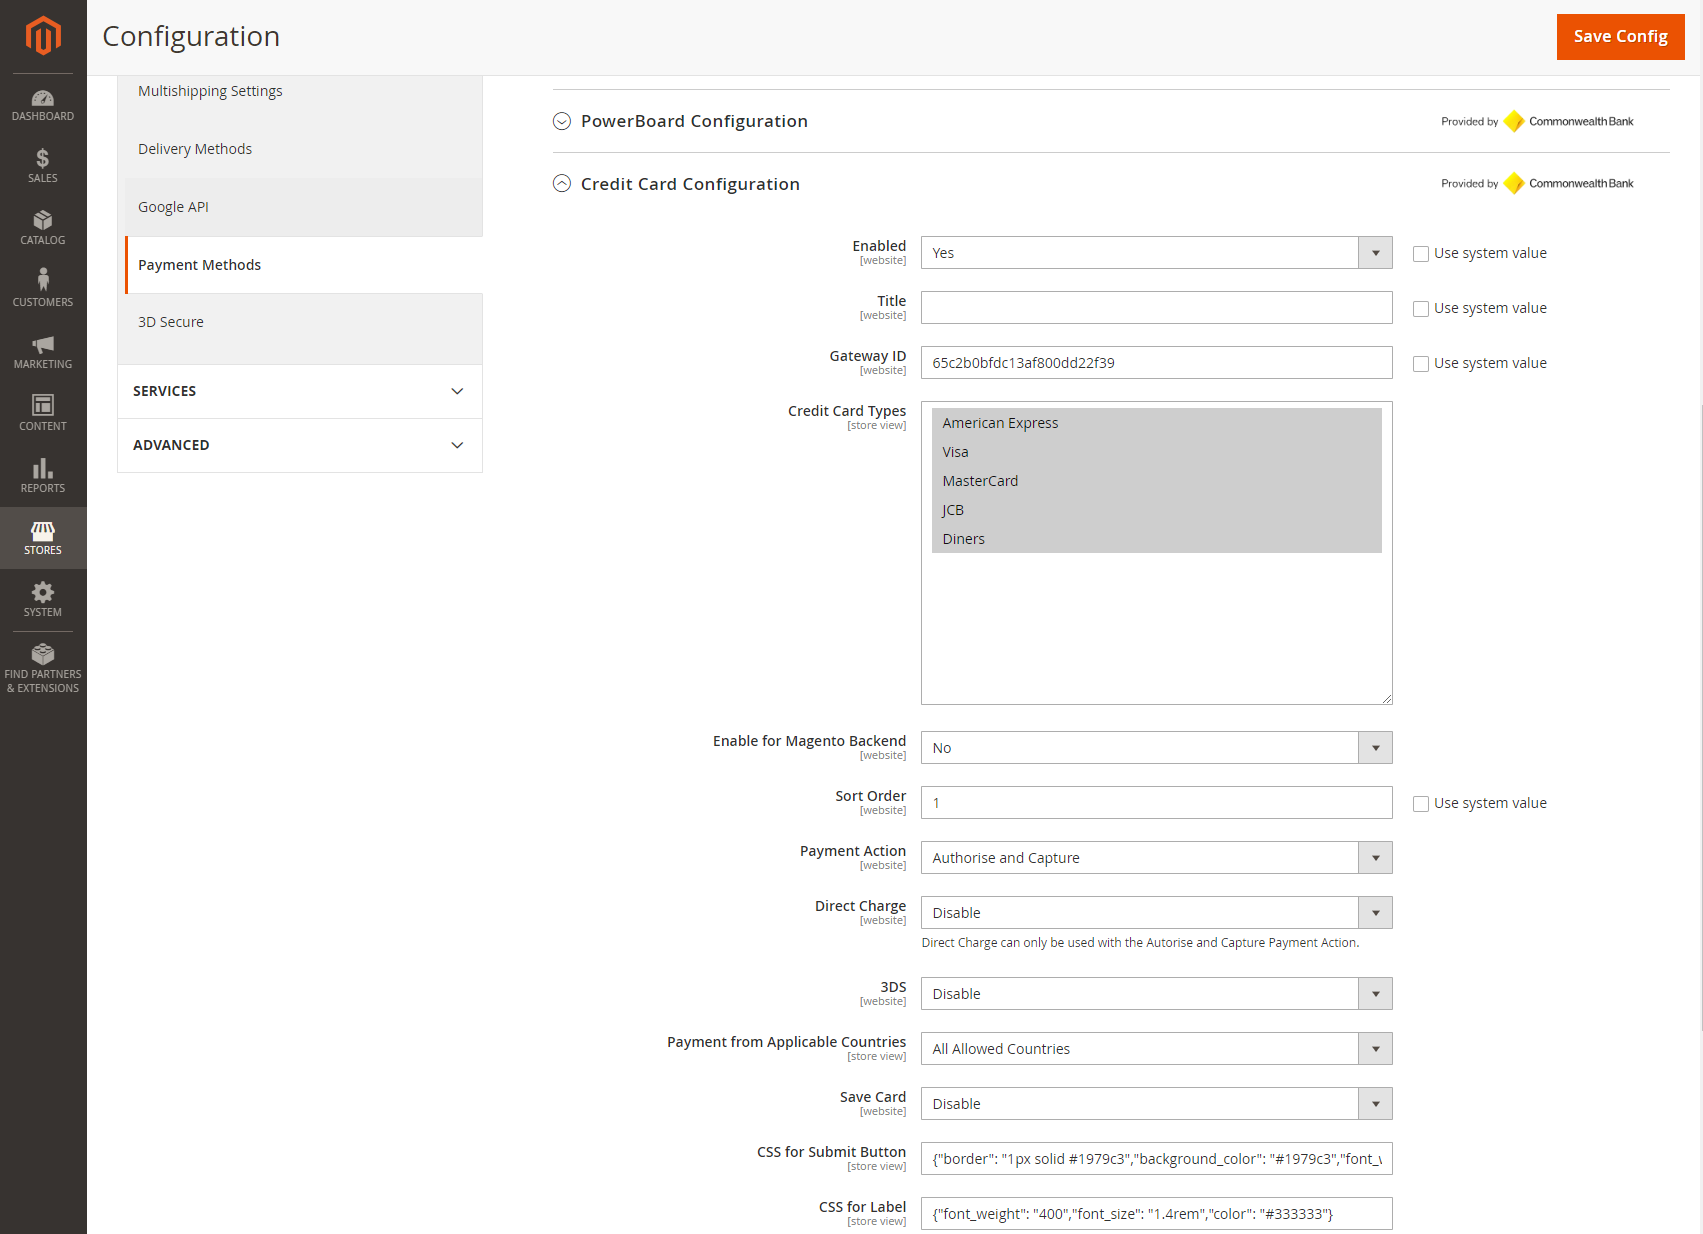
| Setting Name | Description |
|---|---|
| Enabled (Yes/No) | Enable or disable Credit Card as a payment option via PowerBoard. |
| Title | The title that appears for this payment option at checkout. |
| Gateway ID | Gateway ID for Credit Card obtained from PowerBoard Merchant Portal > Services. (Required) |
| Credit Card Type | Choose which of the Credit Card type scheme logos will be displayed within the Credit Card payment option. |
| Enable for Magento Backend (yes/no) | Enable the use of this payment option to create orders in backend (merchant facing) system. |
| Sort Order | Position of the payment selector within the list of PowerBoard payment methods (lowest number first) |
| Payment Action | Select how the Credit Card will be processed: - Authorise Only - Authorise and Capture - Select this option for PowerBoard |
| 3DS | Enabling this setting will enable 3D Secure in the checkout workflow. |
| Direct Charge | Enable Credit Card to be processed via Direct Charge. Note - Direct Charge can only be used in combination with the Authorise and Capture Payment Action. |
| Payment from Applicable Countries | Select the countries allowed to use this payment. |
| Save Card (yes/no) | Allow logged in customers to save their credit card for later use. |
| CSS for Submit Button | Additional styling for the credit card form submit button. Default: {"font_weight": "500", "line_height": "2.8rem", "font_size": "1.8rem", "border_radius": "3px"} |
| CSS for Label | Additional styling for the credit card form labels. Default: {"font_weight": "400"} |
| CSS for Input | Additional styling for the credit card form fields. Default: {"font_size": "16px", "height": "32px", "border": "1px solid #c2c2c2", "border_radius": "1px"} |
Important
You must setup your PayPal account in PowerBoard. Follow instruction here to add a PayPal service.
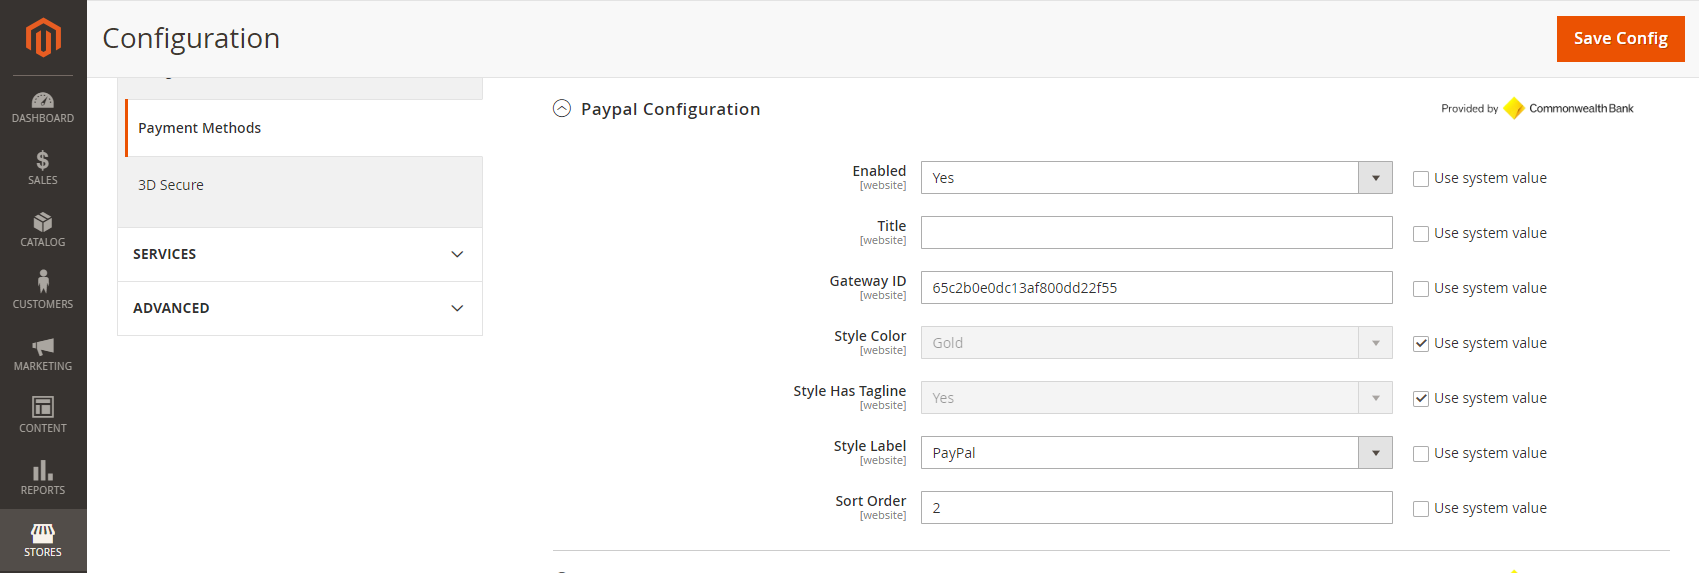
| Setting Name | Description |
|---|---|
| Enabled (yes/no) | Enable or disable PayPal as a payment option via PowerBoard. |
| Title | The title that appears for this payment option at checkout. |
| Gateway ID | Gateway ID for Credit Card obtained from PowerBoard Merchant Portal > Services. (Required) |
| Enable Pay Later (yes/no) | Enable or disable PayPal Pay Later feature on payment. |
| Style Layout | How the buttons are aligned (Horizontal or Vertical) when there are more that one button. |
| Style Color | Display colour of payment buttons PayPal’s recommendation in priority: 1. gold 2. blue 3. silver 4. white 5. black |
| Style Shape | Display shape of payment buttons. Paypal’s recommendation in priority: 1. rect 2. pill |
| Style Has Tagline (yes/no) | Choose whether to display the buttons with a tagline “The safer, easier way to pay” underneath. |
| Style Label | Display Label text for button. Options includes:
    |
| Sort Order | Position of the payment selector within the list of PowerBoard payment methods (lowest number first) |
Important
You must have Afterpay and Zip service setup in your PowerBoard Portal. To add a service please follow this guide.
For Google Pay and Apple Pay, you must enable these services by following these guides: Google Pay | Apple Pay

| Setting Name | Description |
|---|---|
| Enabled (yes/no) | Enable or disable as a payment option via PowerBoard. |
| Title | The title that appears for this payment option at checkout. |
| Gateway ID | Gateway ID obtained from PowerBoard Merchant Portal for respective service. |
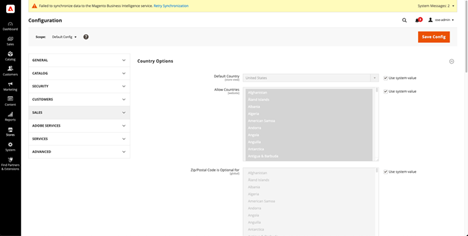
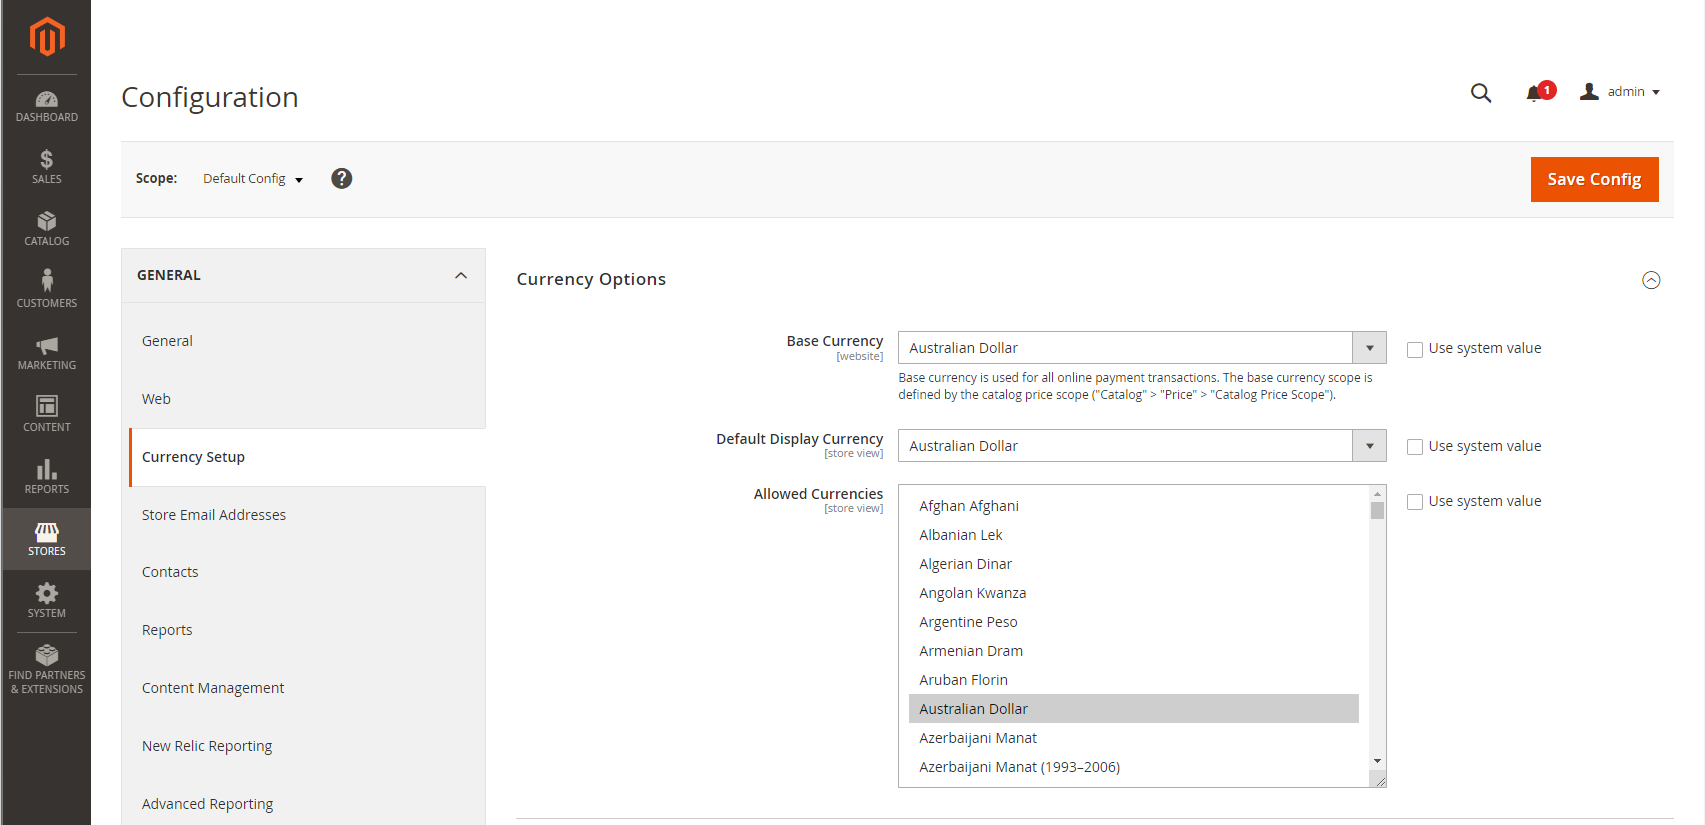
Within Stores > Configuration, click on General heading to see the General configuration sections on the left hand menu. Click on the Currency Setup menu and select Allowed Currencies.
Make sure currency is set to Australian Dollar
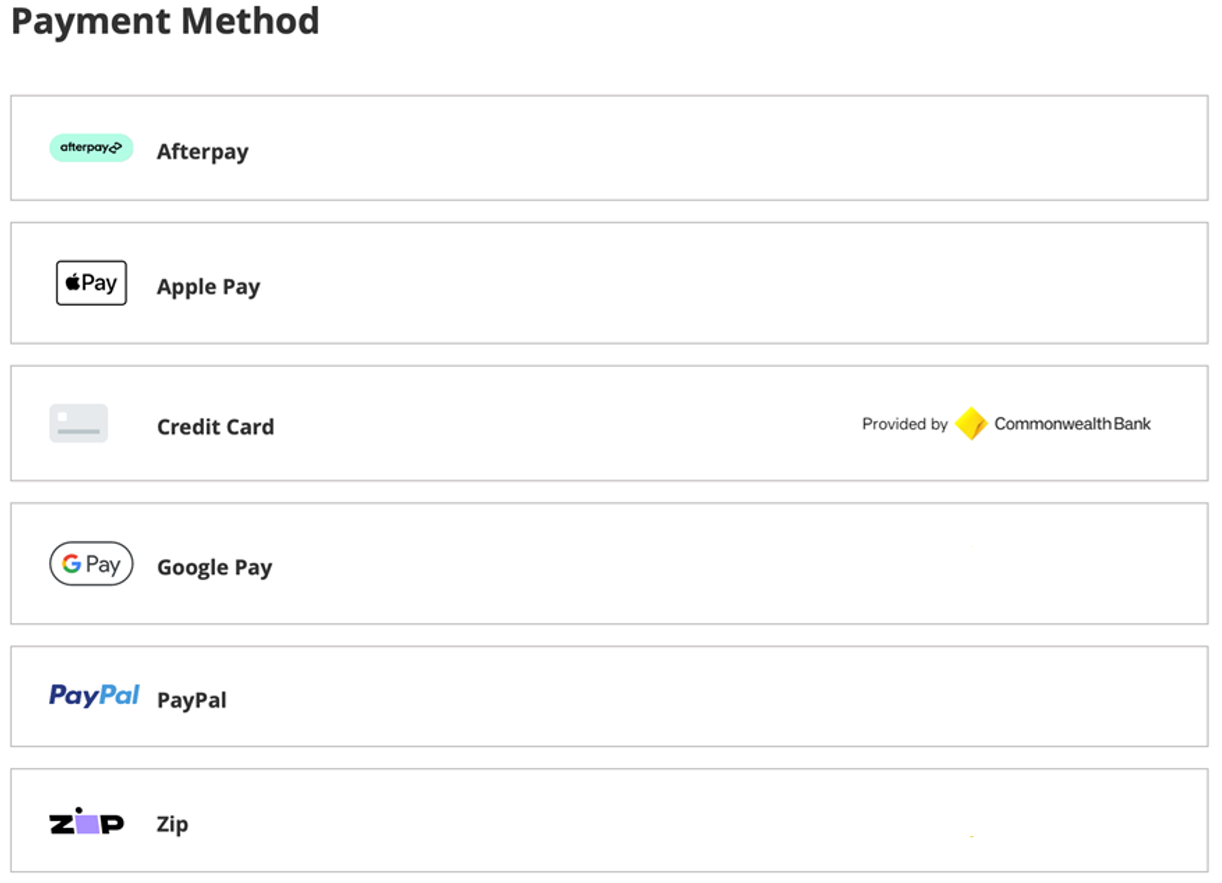
Once you have enabled all Payment Methods in PowerBoard configuration, your checkout will appear as below:
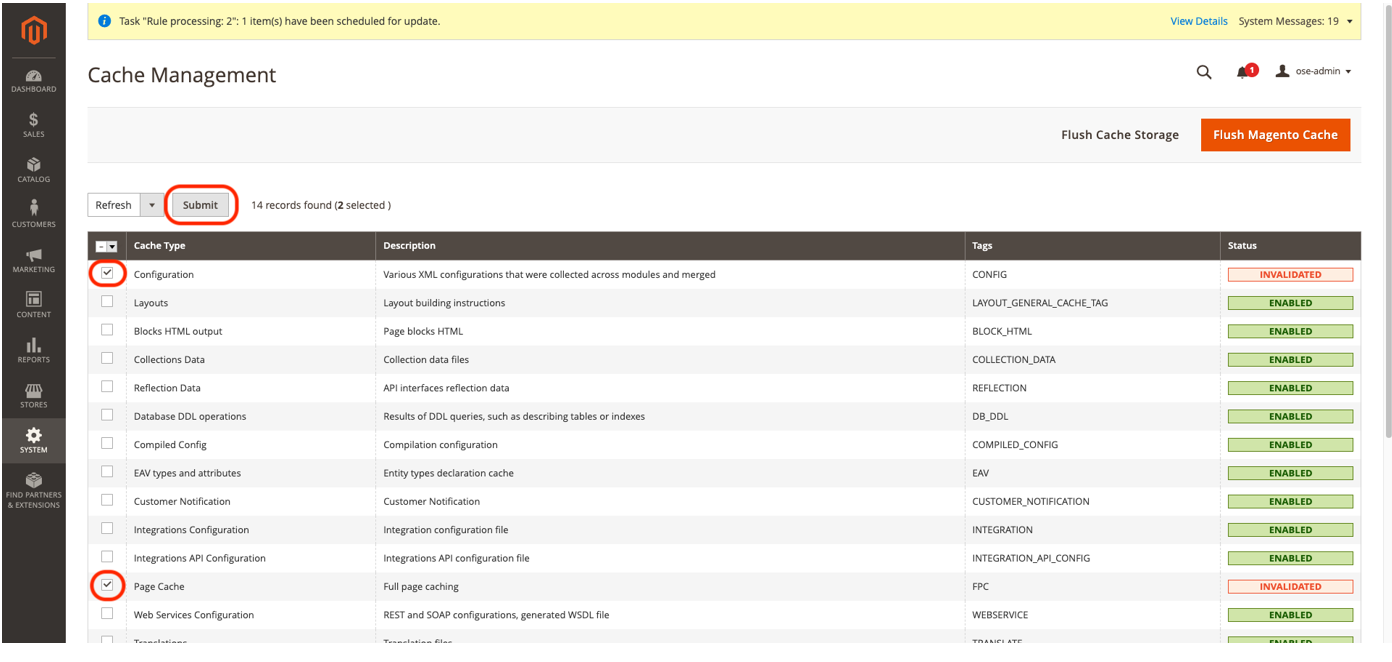
To ensure that configuration changes will apply immediately, please make sure to clear Magento Cache after each update of configuration:
Go to System > Cache Management and click on Flush Magento Cache.
composer update paydock/magento2-powerboard

bin/magento setup:upgrade
Run composer command to remove the package:
composer remove paydock/magento2-powerboard

bin/magento setup:upgrade
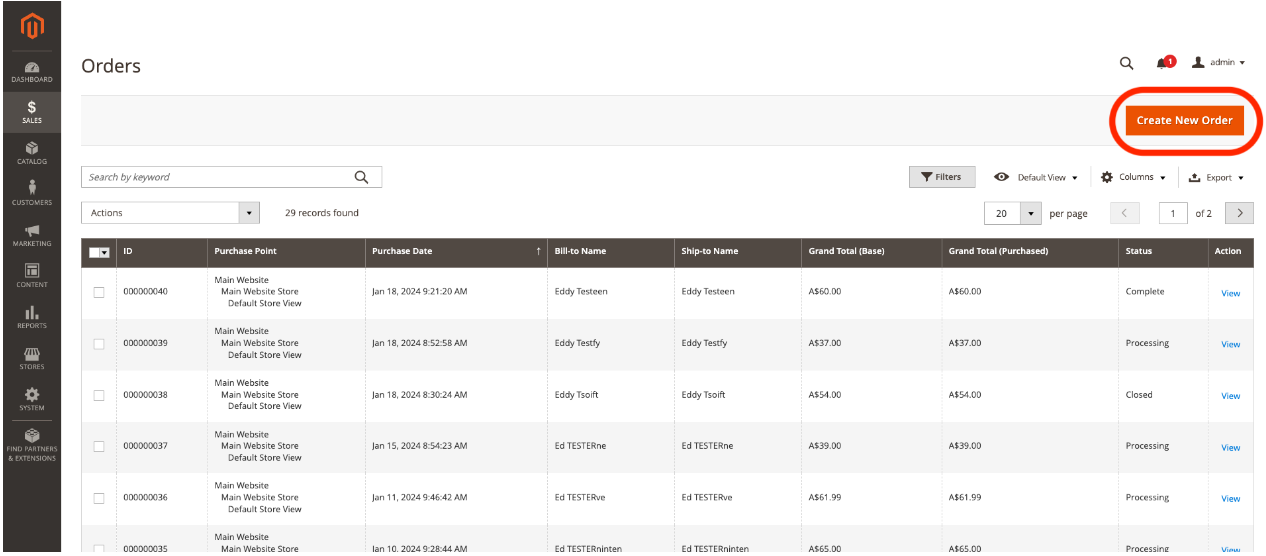
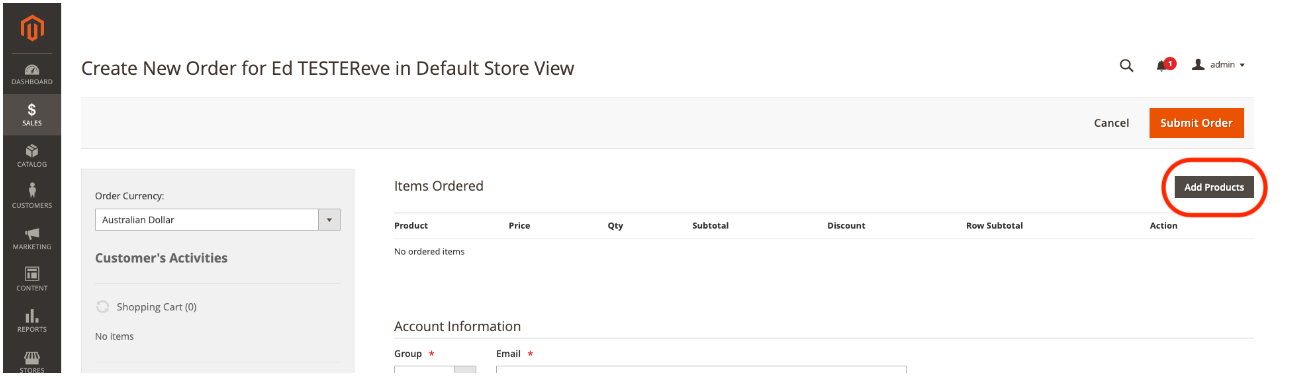
On the Sales > Orders page, click the Create New Order button
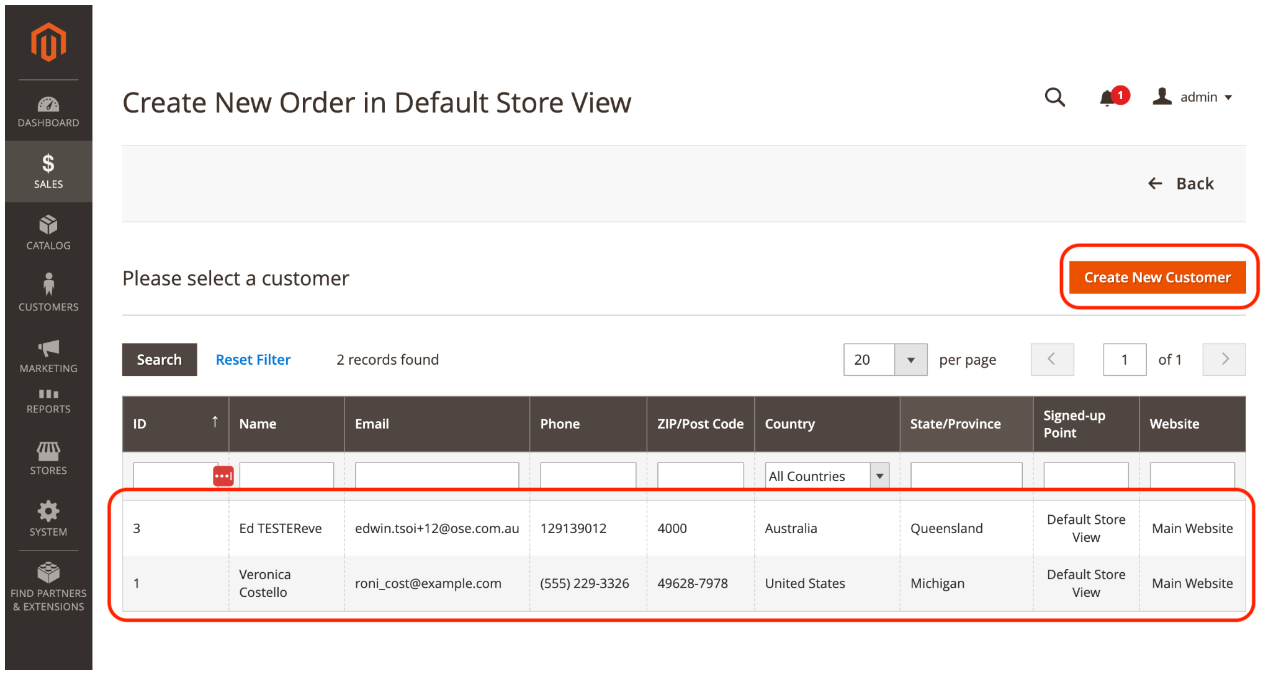
Then either select an existing customer on the table or Create New Customer with the button on
the top right.
Click on Add Products to see a list of products that can be added to the order
After selecting the product, click on Add Selected Product to Order.
Note
If the new products do not appear at this point, please try refreshing the page.
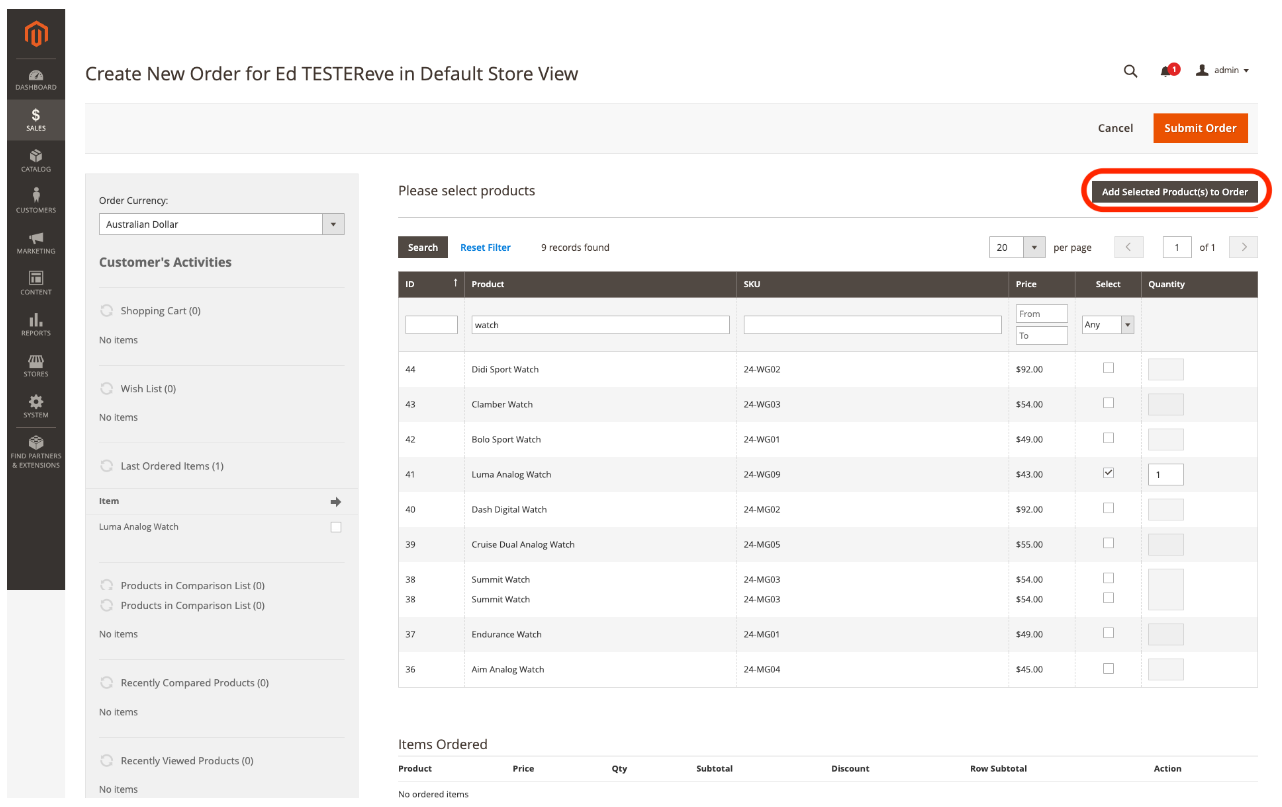
Note
If the new products do not appear at this point, please try refreshing the page, this seems to be a Magento core glitch.
After adding in product into your order, please select Credit Card as the Payment Method
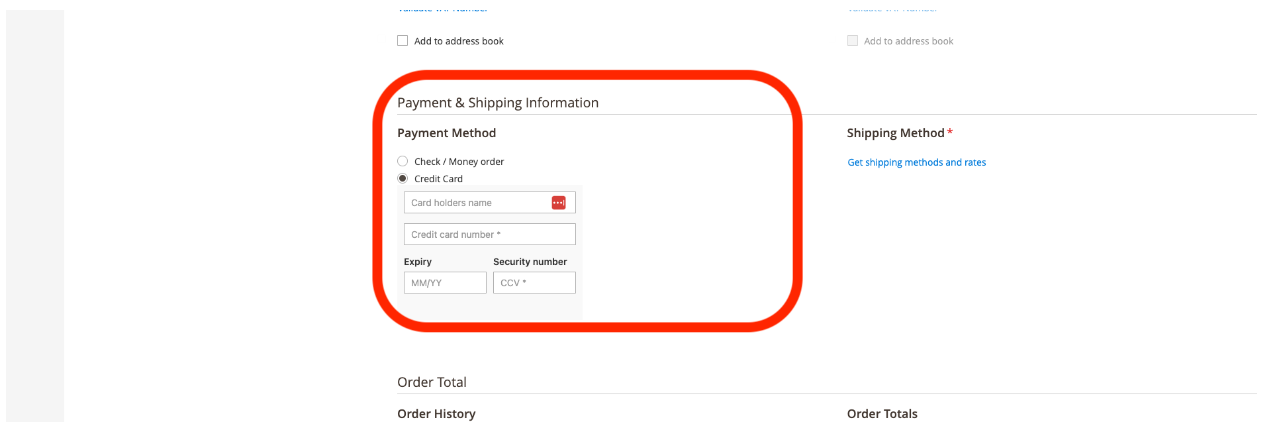
Fill in the credit card details before submitting the order
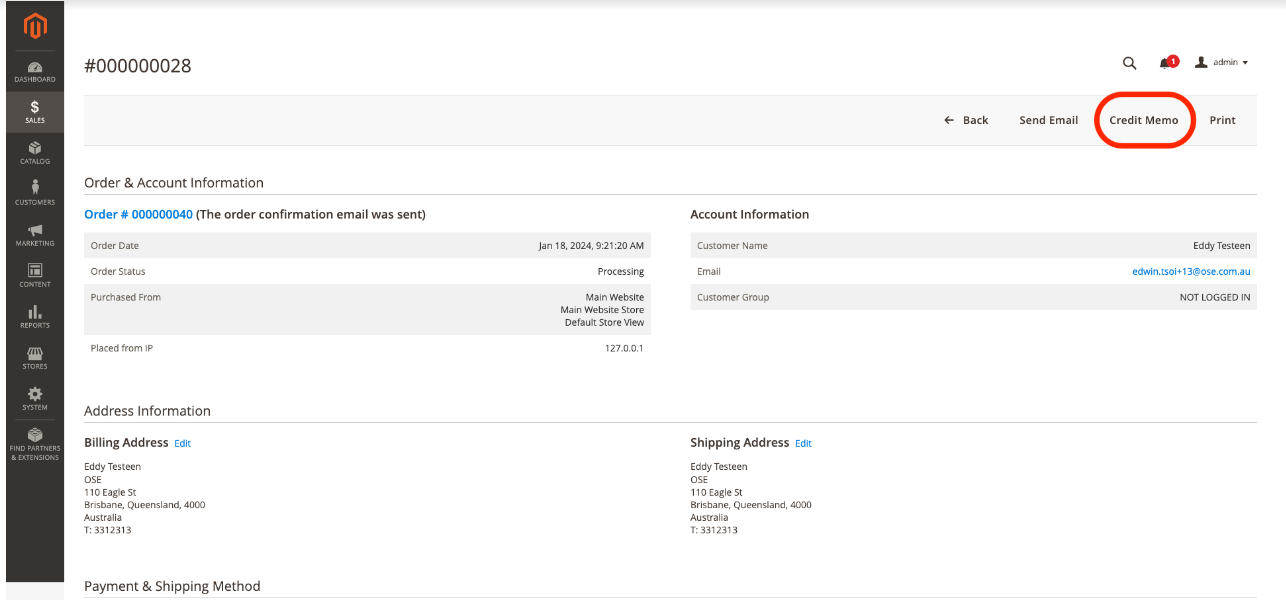
Important
For an online (API call) refund, a Credit Memo has to be created against the invoice (from the invoice screen) and not from the order screen.
In the Order View in the backend, click on the Invoice button on the left.

Open the invoice with the View button.
Click on the Credit Memo button
Refund Options:
Within the Credit Memo, there are a few ways here to adjust the refund:
In the refund totals table at the bottom:
To confirm and make the online refund. click on the refund button at the bottom.
The order will be updated once the refund is completed:

Updated 5 months ago
Did this article help you? Please use the feedback feature so we can improve our documentation.